
For professional photographers, videographers, and production studios, a stable tripod is the silent backbone of every successful shoot. Whether you are capturing high-resolution landscape panoramas or supporting heavy cinema rigs, mechanical failure is not an option. When equipment takes a hit in the field, knowing how to fix broken tripod leg assemblies safely can save a production. However, amateur fixes executed incorrectly can jeopardize thousands of dollars worth of camera gear.
At TripodRepair, we believe in meticulous maintenance and honest evaluations. In this guide, we explore how to diagnose tripod leg failures, execute safe temporary fixes, and recognize when a repair requires expert intervention.
Assessing the Damage
Before reaching for tools or adhesives, a rigorous assessment of the structural integrity is essential. Not all tripod leg failures carry the same risk. Understanding the severity of the damage prevents catastrophic equipment failure during critical shoots.

Minor Failures
- Slipping leg sections due to worn twist locks or loose flip-lever screws.
- Slightly loose pivot joints or minor play in the upper spider casting.
- Stripped or missing tension adjustment screws.
These issues are typically correctable through proper tightening, cleaning, or minor component replacement. You can explore our insights on specific brand maintenance in our Gitzo vs Manfrotto vs Sachtler tripod repair guide.
Critical Failures
- Splintered carbon fiber or deeply bent aluminum leg tubes.
- Fractured mounting collars where legs attach to the central tripod casting.
- Multiple broken locking mechanisms rendering the tripod permanently wobbly.
When critical components fail while supporting heavy production packages, DIY splints are insufficient. For advanced carbon fiber damage, refer to our carbon fiber tripod repair guide to understand professional restoration standards.
Fixing Slipping Locks
A common field issue is a leg section that collapses under weight because the locking mechanism has lost its grip. Restoring tension requires precise calibration rather than brute force.

Step-by-Step Adjustment
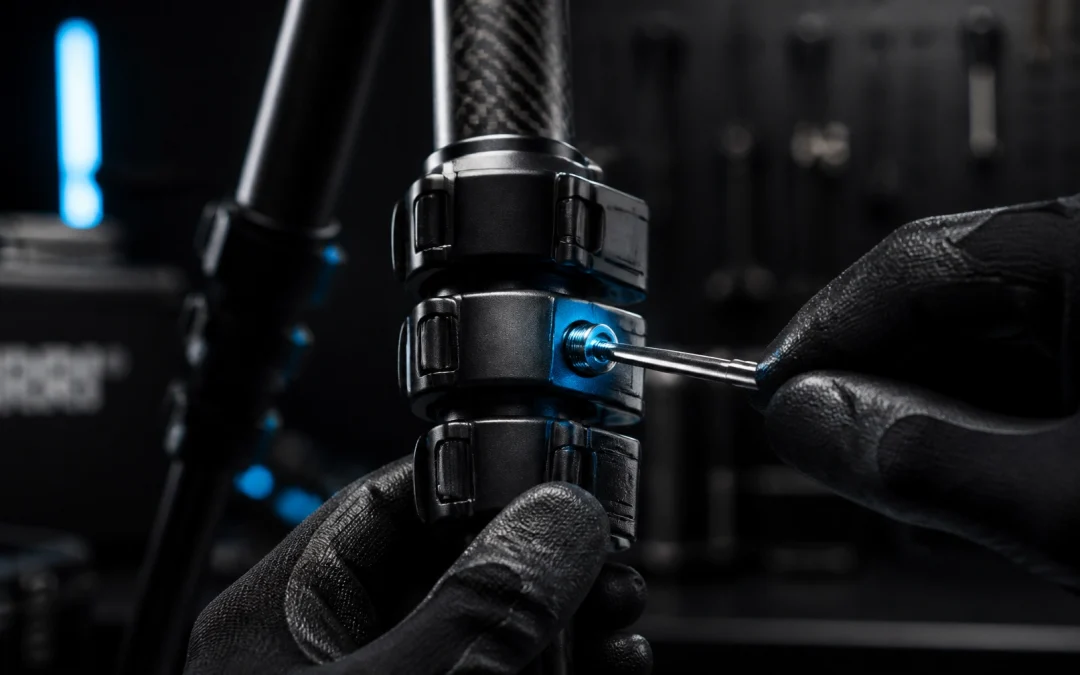
- Locate Tension Screws: Inspect the hinge or collar of the flip lock. Most modern tripods feature a small hex or Torx screw controlling clamping pressure.
- Calibrate Clamping Force: Using the appropriate Allen wrench, make micro-adjustments (a quarter-turn clockwise) to tighten the collar. Avoid over-tightening, which can strip internal threads or crack polymer housings.
- Clean Internal Gaskets: If the slip persists, disassemble twist-lock collars. Remove accumulated grit, sand, or moisture, and re-apply a light coat of dry lubricant to internal shims.
For specific model instructions, consult our detailed walkthrough on Manfrotto tripod repair for stuck legs and loose locks.
Field Emergency Fixes
When you are on location and must fix broken tripod leg functionality immediately to finish a shoot, temporary measures can provide stability until professional service is available.

The Hose Clamp Method
If a flip lever snaps or a twist lock cracks entirely, locking the leg at a fixed height is often necessary.
- Extend the damaged leg section to your required working height.
- Place a sturdy metal hose clamp or worm-gear clamp around the outer sleeve directly above the locking joint.
- Tighten the clamp firmly with a screwdriver until the inner leg is rigidly held in place.
While this sacrifices adjustable height, it restores vertical load-bearing capacity for immediate shooting needs.
Rigorous Safety Testing
Never mount expensive camera gear onto a repaired tripod without executing a comprehensive stability protocol. Safety is paramount when handling heavy professional equipment.

The Load Test Protocol
- Visual Inspection: Verify that all screws, collars, and adhesive bonds are fully seated and cured.
- Static Body Weight Test: Place the tripod on a flat, non-slip surface with legs fully extended. Apply firm downward pressure with your hands, gradually transferring part of your body weight onto the central column. Listen for creaking and watch for creeping leg sections.
- Torsional Stability Check: Twist the tripod head horizontally. There should be zero lateral play or structural flex in the repaired leg joint.
- Counterweight Verification: Hang a weighted sandbag or water jug from the central hook to simulate production loads before mounting your primary camera package.
When to Call Professionals
While field hacks keep shoots moving, long-term reliability demands expert craftsmanship. Precision alignment, factory-spec replacement parts, and structural reinforcement require specialized workshop tools.
At TripodRepair, our niche expertise in tripod mechanics ensures your gear is restored to factory performance. Whether you need assistance or want to review our full suite of restoration services, visit our contact page or learn more about our expert team. Let us help you protect your investment and capture every critical moment with absolute confidence.