
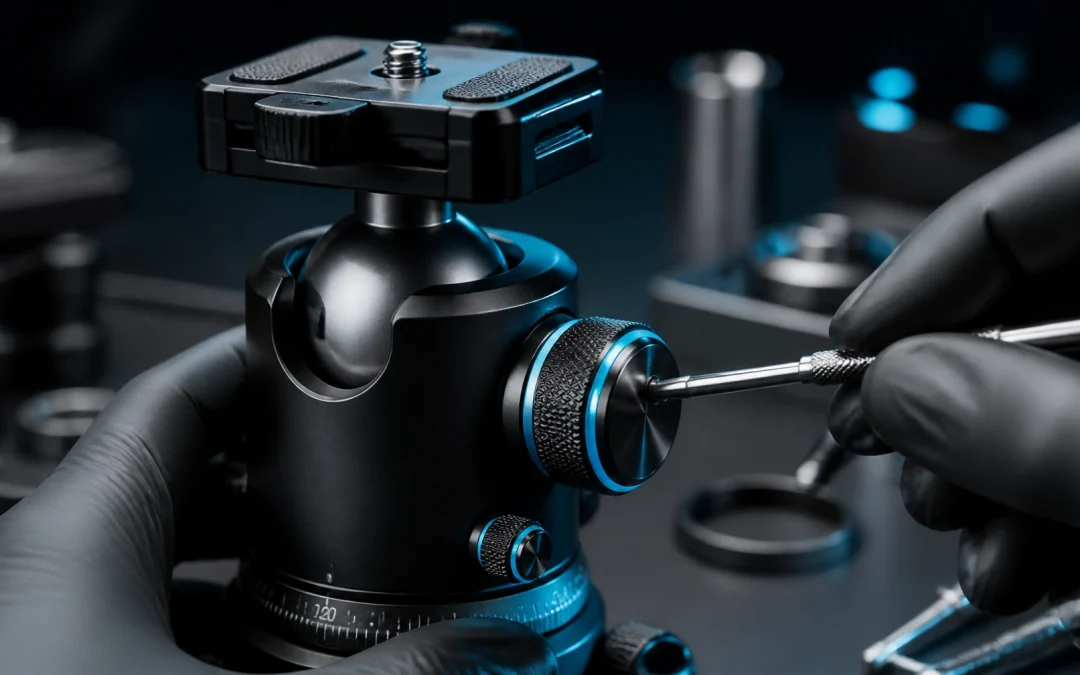
At TripodRepair, we understand that precision is everything when you are framing a crucial shot. Whether you are scaling a remote mountain ridge or operating inside a high-demand production studio, your equipment must perform flawlessly. When your tripod's ball head suddenly freezes up or fails to maintain position under the weight of a heavy telephoto lens, your entire workflow grinds to a halt.
Ball heads are marvels of mechanical engineering, relying on precise friction and spherical geometry to offer fluid movement and rock-solid locking. However, grit, environmental exposure, and normal wear and tear can compromise their integrity. In this comprehensive guide, we share our expert methodology for diagnosing, troubleshooting, and restoring your ball head to optimal working condition.
Diagnose the Problem
Identify specific symptoms before attempting any mechanical intervention.
Before reaching for tools, you must accurately categorize the failure. Is your ball head completely frozen, or is it slipping and sagging when locked? Pinpointing the symptom directs our approach immediately to the root cause.
- Stiff or Frozen Ball: Even with all locking mechanisms fully loosened, the spherical joint resists movement or feels completely locked in place.
- Slipping and Drooping: The main locking knob is tightened securely, yet the camera slowly drifts downward under its own weight.
- Gritty Operation: You feel a scraping or grinding sensation when panning or tilting the setup, often accompanied by audible friction.
For a broader overview of head maintenance, check out our comprehensive guide on tripod head repair.
External Inspection
Check external knobs, tension rings, and visible housing cracks.

Begin your triage with a thorough external examination. A malfunctioning head is not always internally damaged; sometimes, the issue lies in external hardware adjustments or accumulated surface debris.
- Inspect Main Knobs: Verify that the primary locking knob and secondary friction control are not stripped or bottoming out prematurely.
- Check Pan Locks: Ensure the independent panning lock is completely disengaged while testing the ball movement.
- Scan for Structural Damage: Look for hairline fractures around the collar or housing, which indicate severe stress or impact damage.
Clean and Lubricate
Remove environmental grit and apply specialized non-gumming lubricants.
Accumulated dust, fine sand, and dried lubricants are the primary culprits behind sticky ball heads. Over time, environmental contaminants turn into an abrasive paste inside the socket housing.
- Wipe Exposed Surfaces: Use a clean, lint-free cloth dampened with a minimal amount of isopropyl alcohol to wipe down the exposed ball sphere.
- Apply Silicone Lubricant: Apply a minuscule amount of dry silicone spray or specialized non-gumming lubricant. Never use heavy machine oils or WD-40, as they attract dust and migrate to sensitive camera optics.
- Work the Mechanism: Rotate the ball smoothly through its complete range of motion to distribute the lubricant evenly across the internal socket walls.
Internal Disassembly
Access internal friction collars, springs, and locking pins.

If cleaning the exterior fails to resolve stiffness, internal servicing is required. This step demands patience, proper micro-tools (such as Torx T8-T10 drivers and precision hex keys), and a clean workbench.
- Remove Base Plates: Detach the bottom mounting plate and pan lock assembly to expose internal retention screws.
- Extract Housing Halves: Gently separate the outer shell components to reveal the spherical core and internal clamping shoes.
- Examine Internal Springs: Inspect tension plungers and springs for corrosion, breakage, or misalignment.
Correct Slippage Issues
Adjust internal tension or integrate precise friction shims.
If your ball head moves freely but refuses to hold heavy camera setups, the internal clamping pads may have lost their gripping texture or alignment.
- Calibrate Tension Controls: Reset the internal friction limiter screw to increase baseline clamping pressure.
- Inspect Friction Pads: Look for worn, polished, or glazed synthetic pads that fail to bite into the metal ball sphere.
- Professional Shimming: In professional workshop settings, we recalibrate or replace internal polymer sleeves to restore factory-spec locking torque without requiring total unit replacement.
When to Seek Pros
Entrust severely worn or proprietary mechanisms to expert specialists.

While minor tune-ups and cleanings are excellent DIY projects, advanced repairs require specialized equipment and OEM replacement parts. If your head suffers from stripped internal threads, cracked magnesium alloy housings, or permanently seized locking cams, attempting a forced fix can destroy the gear entirely.
At TripodRepair, our seasoned technicians possess the specialized tooling and niche expertise to restore even the most complex modern and vintage gear. Explore our services or contact our repair team for an honest, transparent evaluation of your equipment. Let us help you maintain your gear so you can capture every moment with absolute confidence.